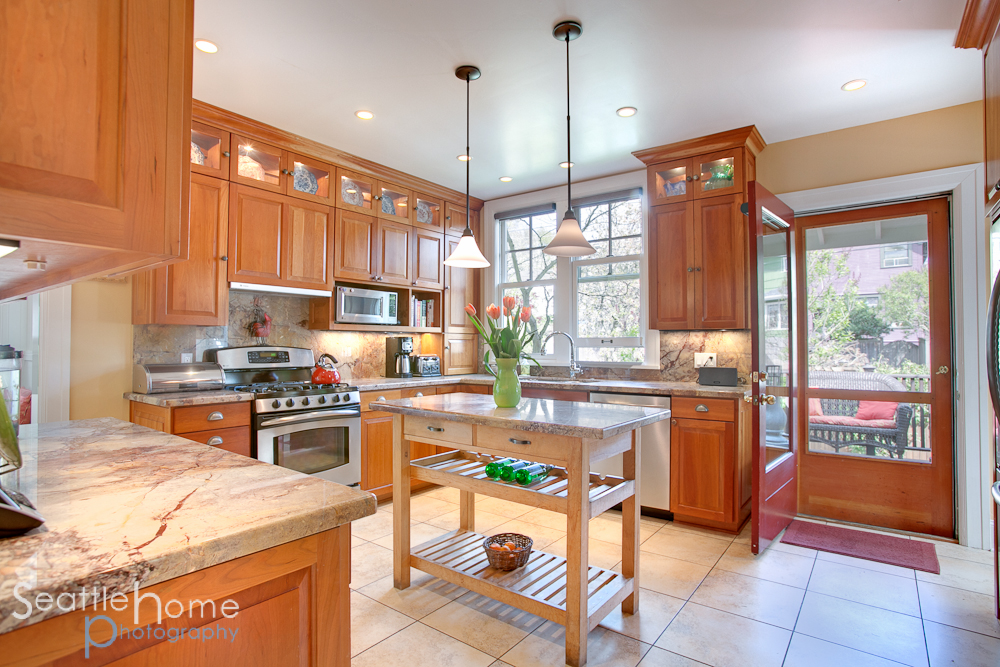
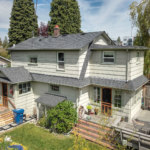
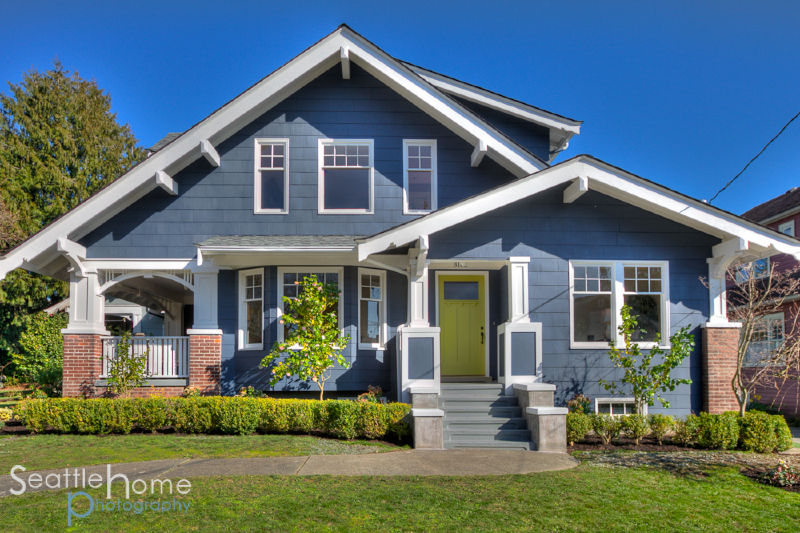
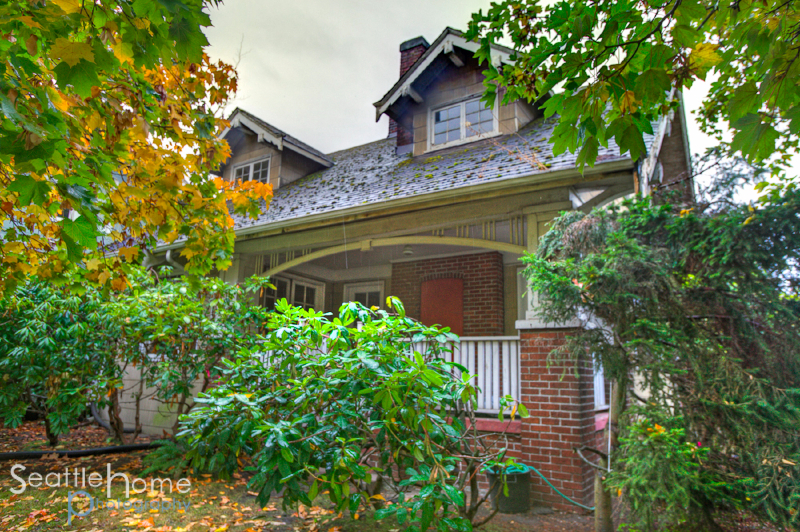
If you are a builder, you may want to have a before & after portfolio made of one of your projects. I made a book for Beehive Construction & Arts using photos for a recent project they did in the Mt. Baker neighborhood. The trick to “before and after” residental photography is to pre-visualize how things are going to look when the remodel is done and get the best angles for it. Once the project is completed and it’s time to shoot the “after” shots (which will also double as the listing photos), print out a contact sheet of all the “before” shots and take it with you so you can match the angles and focal widths. This is actually harder than it sounds. Sometimes the interior changes so much that those before shot angles don’t work any more. That’s when knowing and visualizing the future floor plan becomes invaluable. In this project, I didn’t know what was going to change, so I just tried to cover my bases. I took over 50 before shots angles so I’d have enough angles to choose from. Also, the best exterior angles can also change if landscaping and seasonal changes open up better viewing angles, as seen here. Just drag the slider left and right to see the magic! You can also review the book I designed with these images on Blurb.com at : https://www.blurb.com/b/4192794
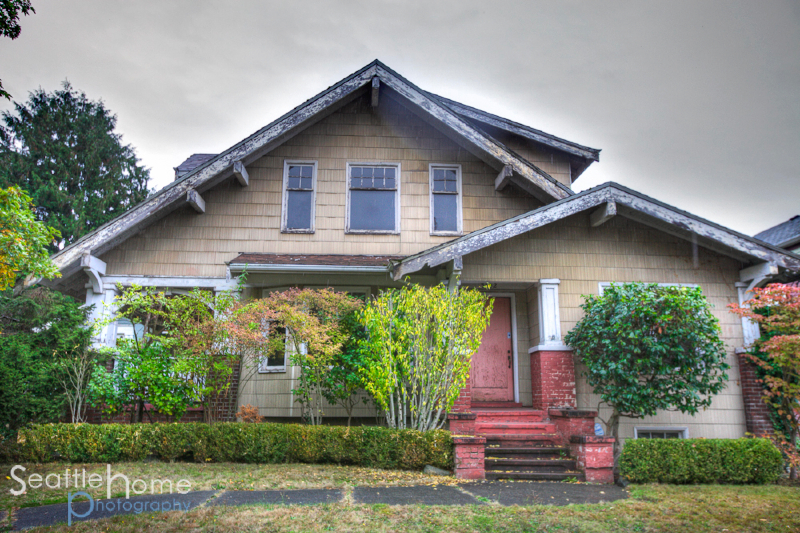
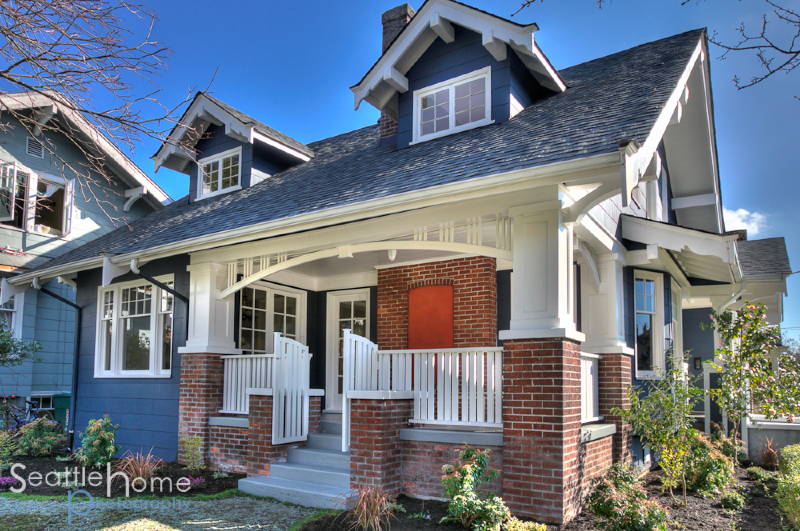 Side of house.


“Perfectly sited on a sunny corner lot to take advantage of boulevard views from the charming covered front porch, this romantic 1918 parkside home has floor plan which allows for easy flow between rooms and beckons for entertaining and includes a music room with southwestern exposure and an updated eat-in kitchen with honed black slate countertops. Upstairs are 3 bedrooms and a vintage inspired bath w/clawfoot tub and subway tiled walls. Follow the park to the lake and get ready to enjoy summer!”


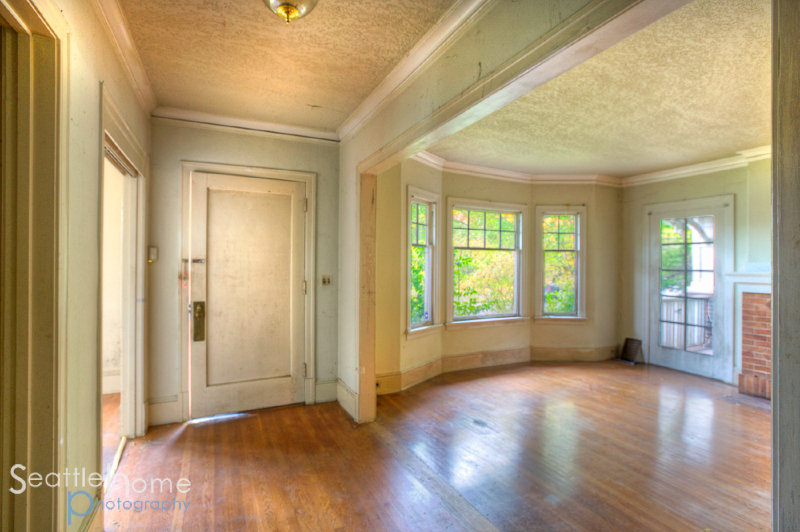
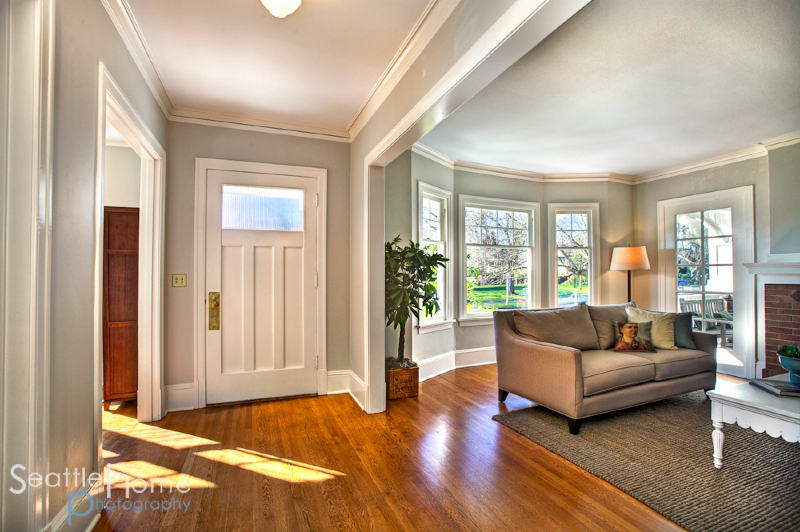
Entrance
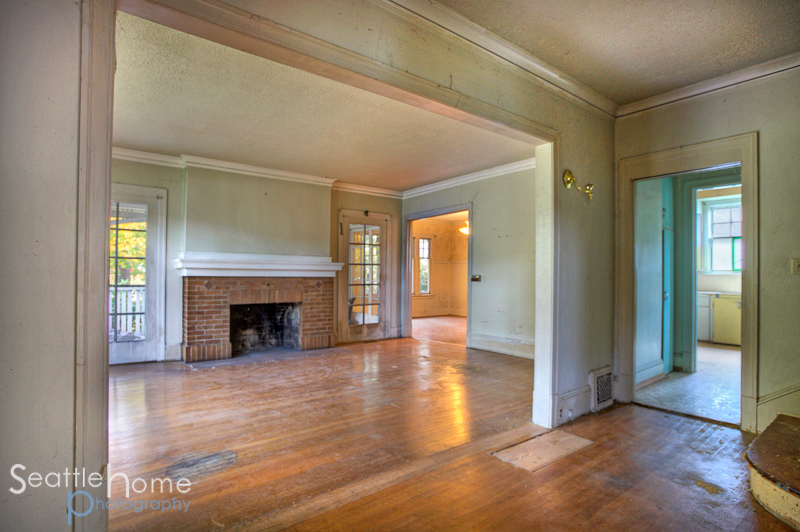
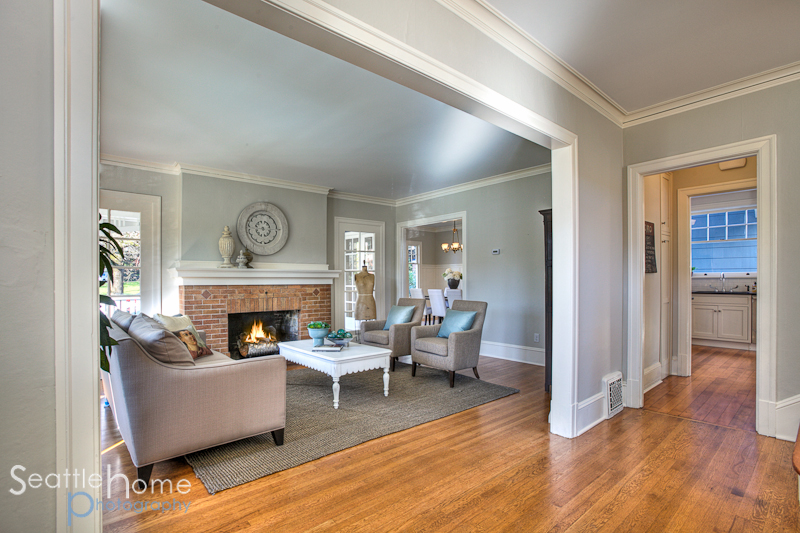
Living Room
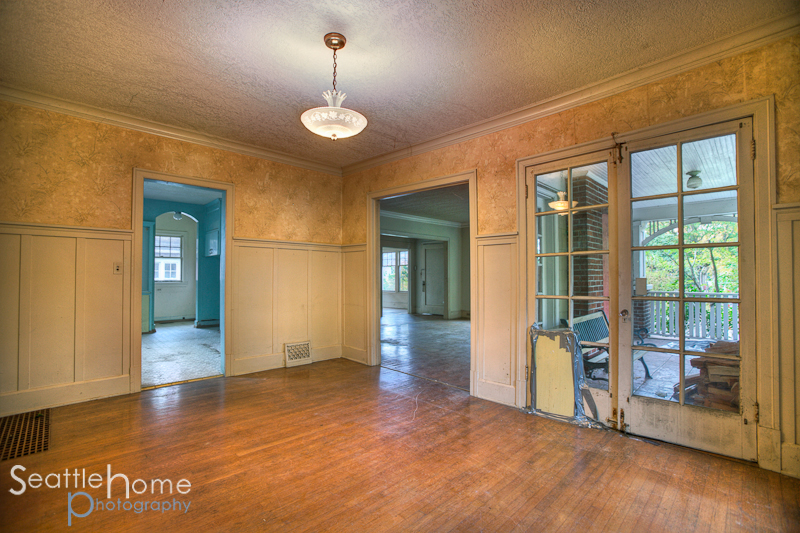
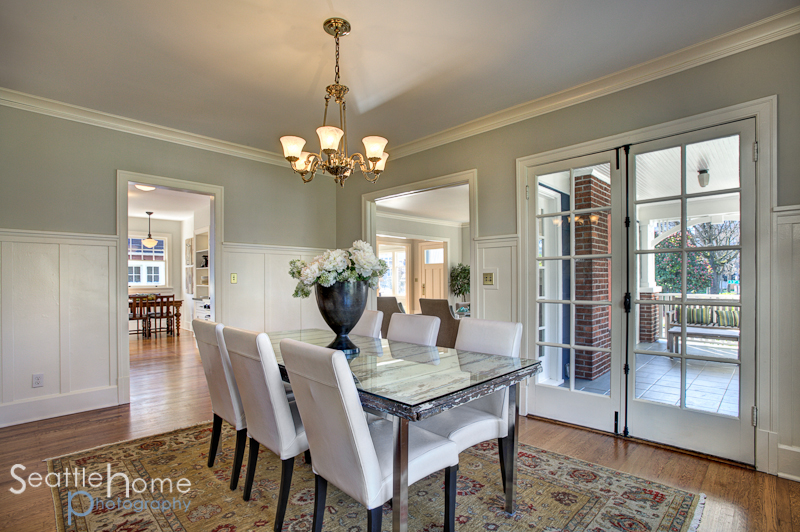
Dining Room
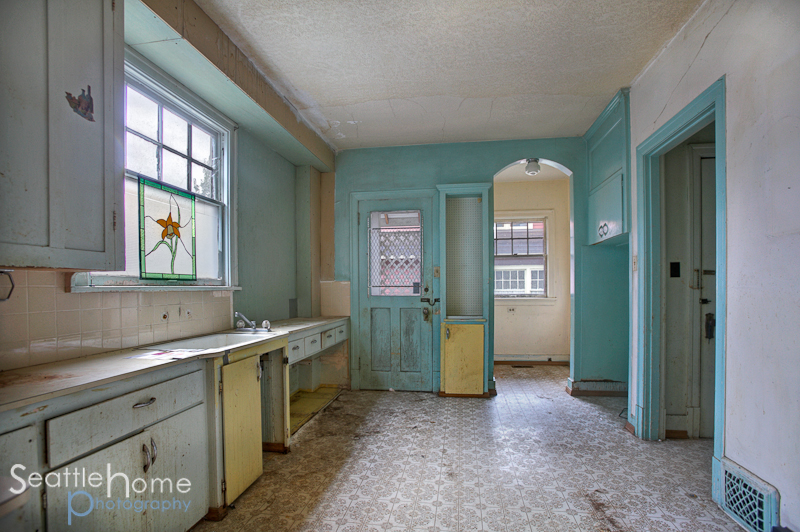
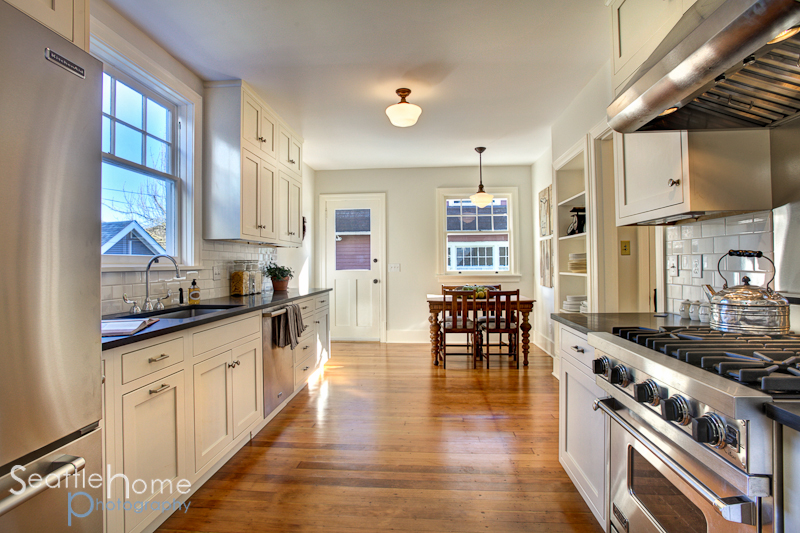
Kitchen
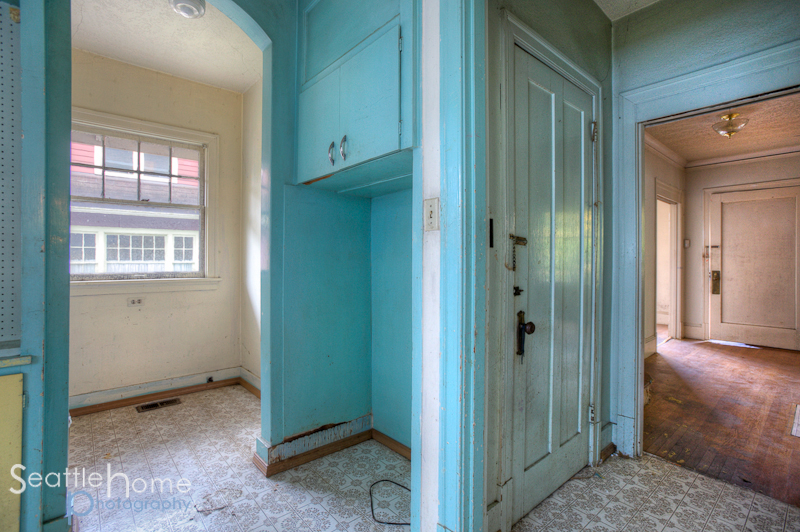
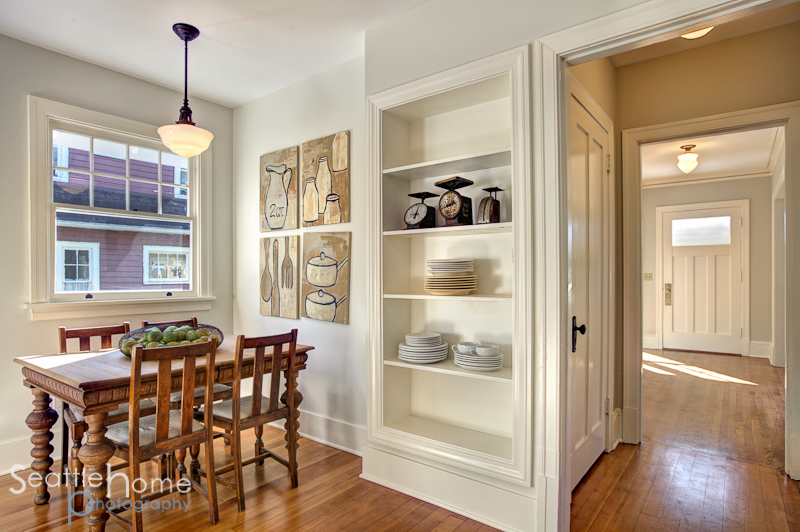
Kitchen
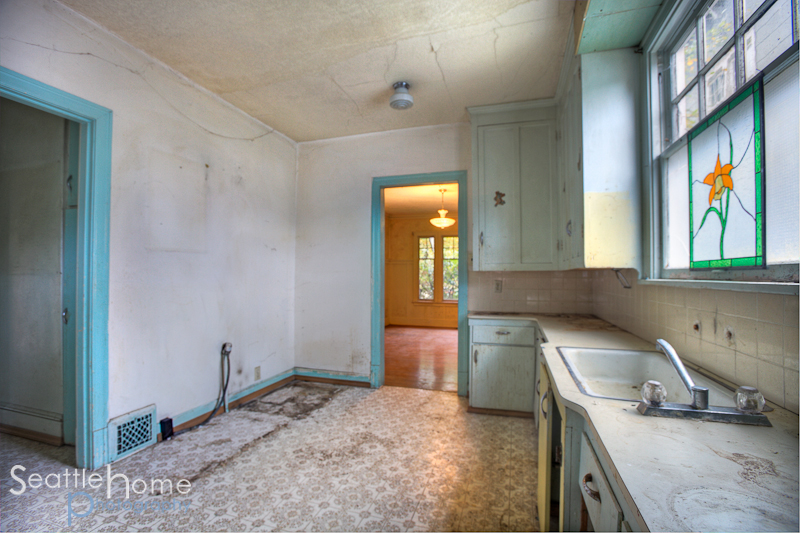
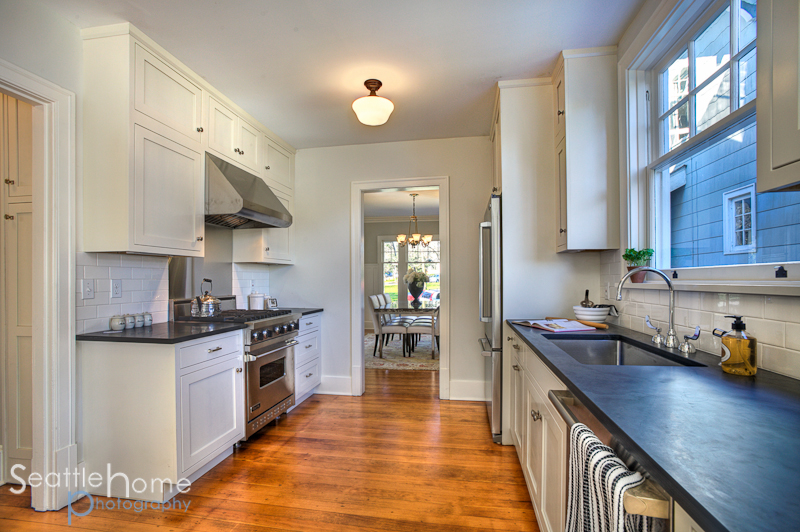
Kitchen
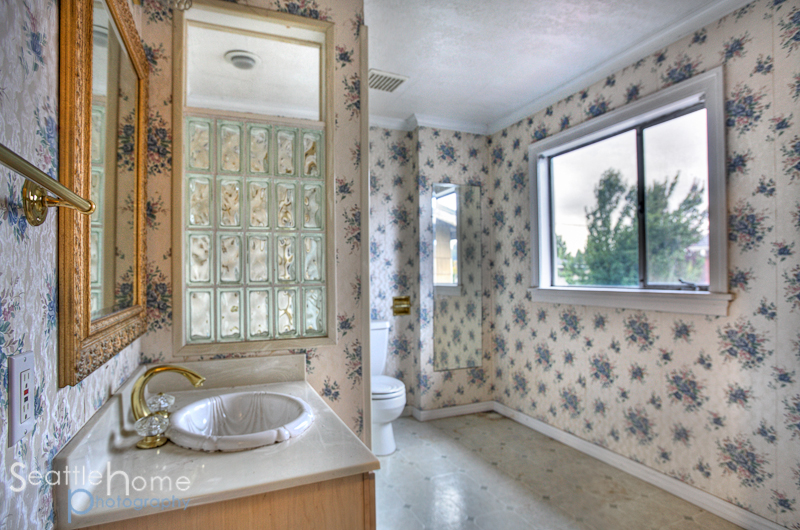
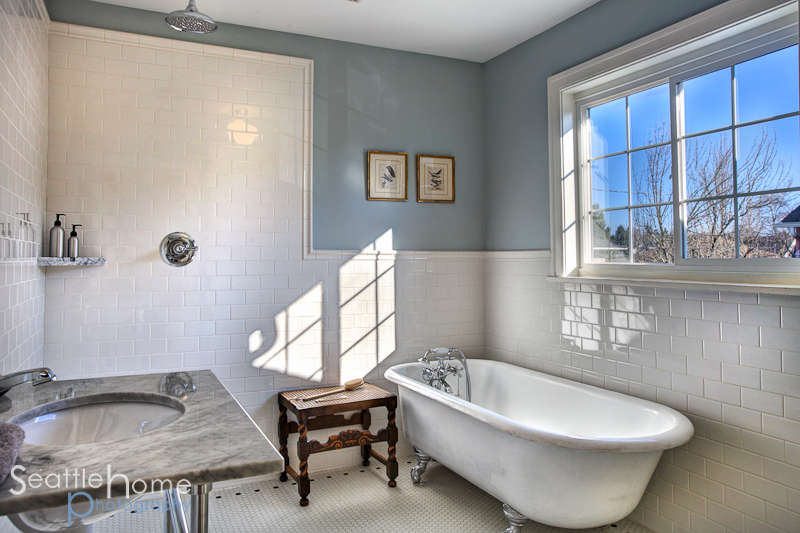
Bathroom
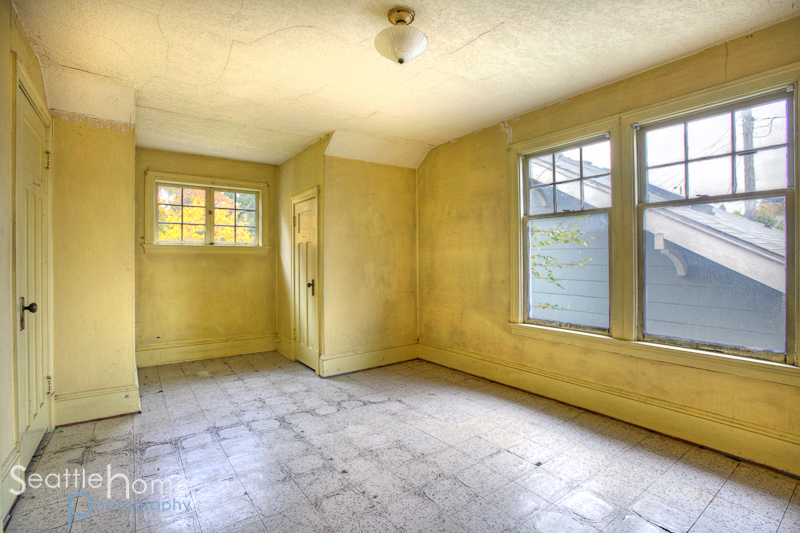
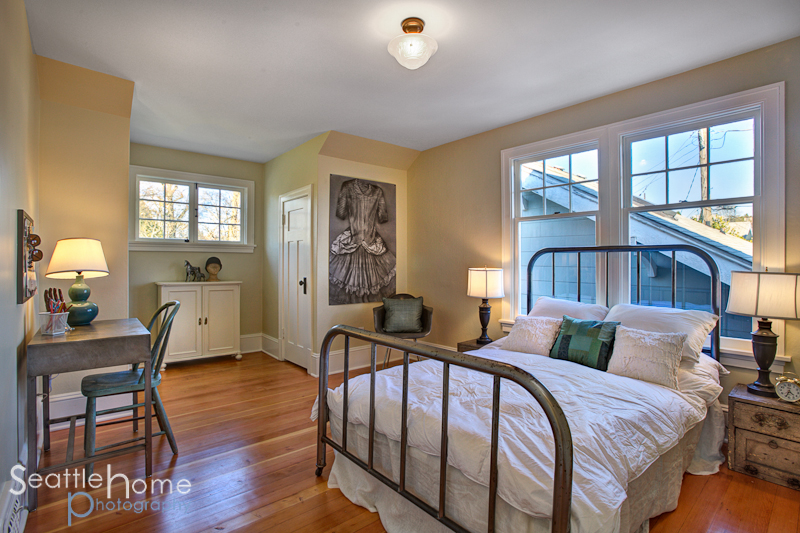
Bedroom
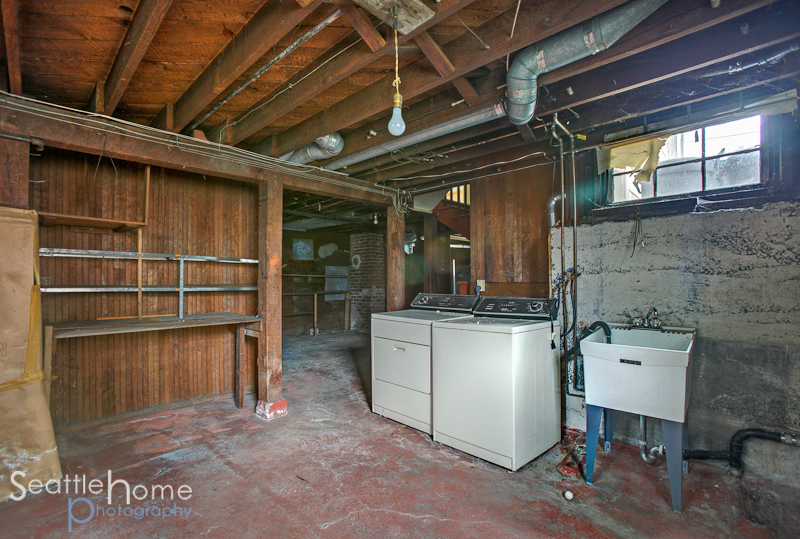
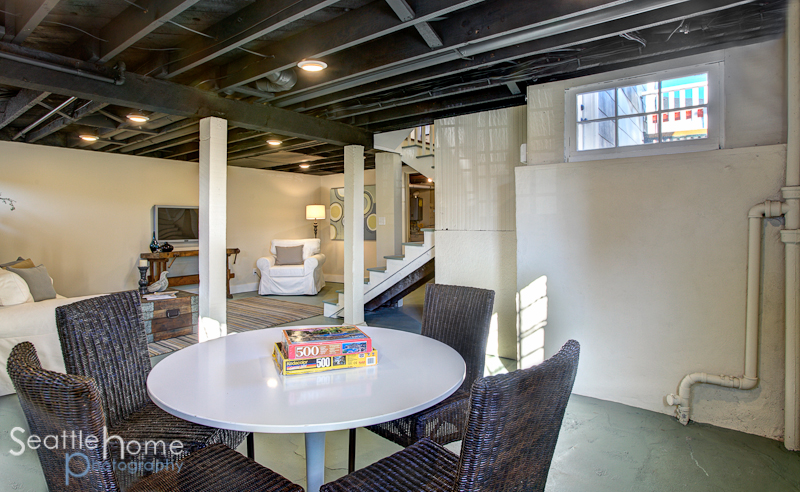
Basement
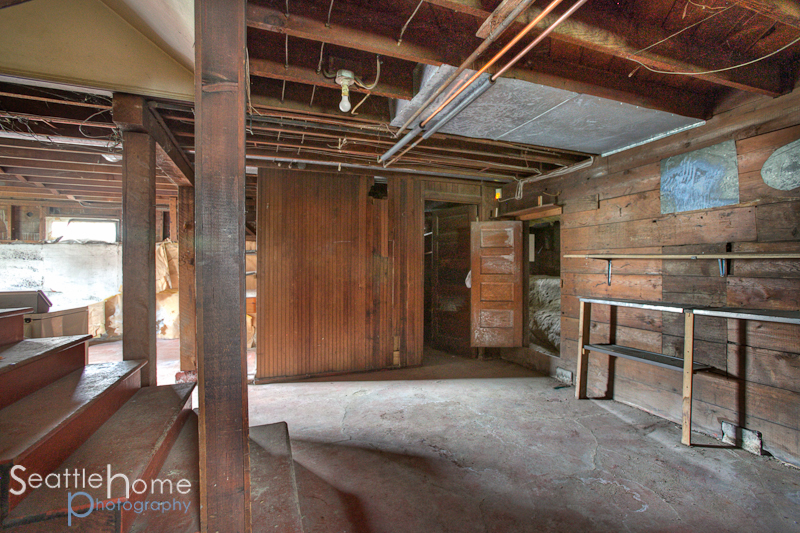
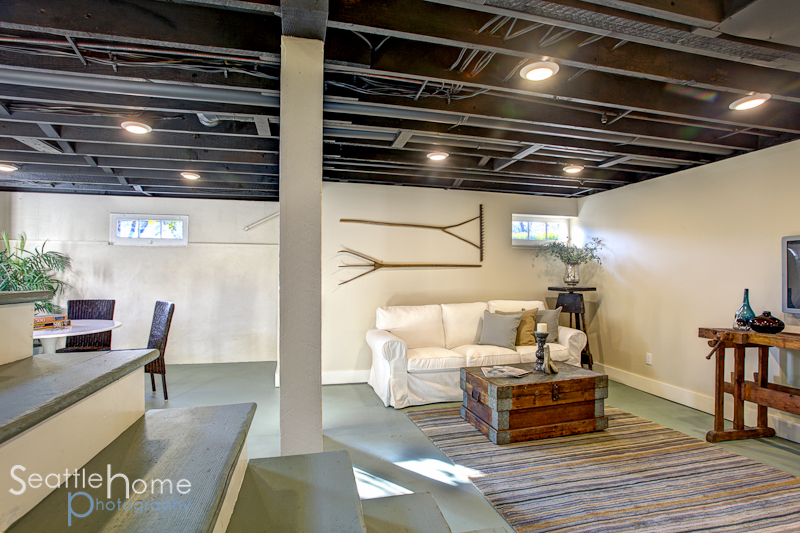
Basement
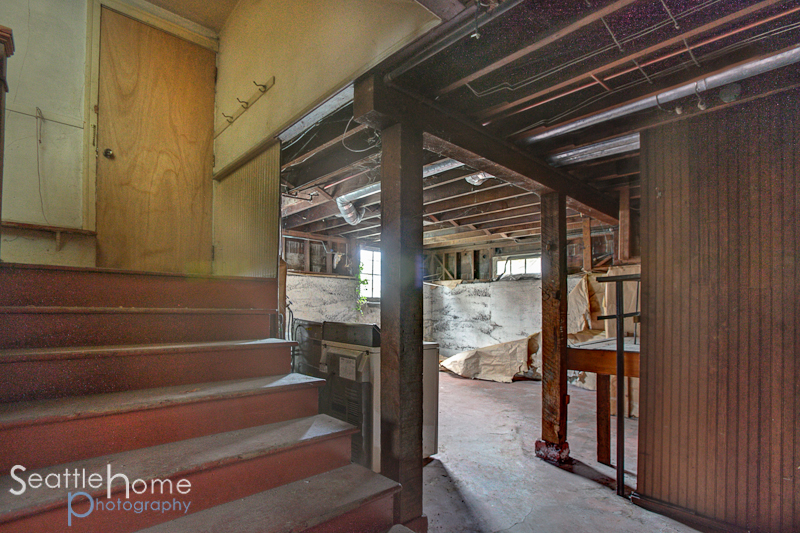
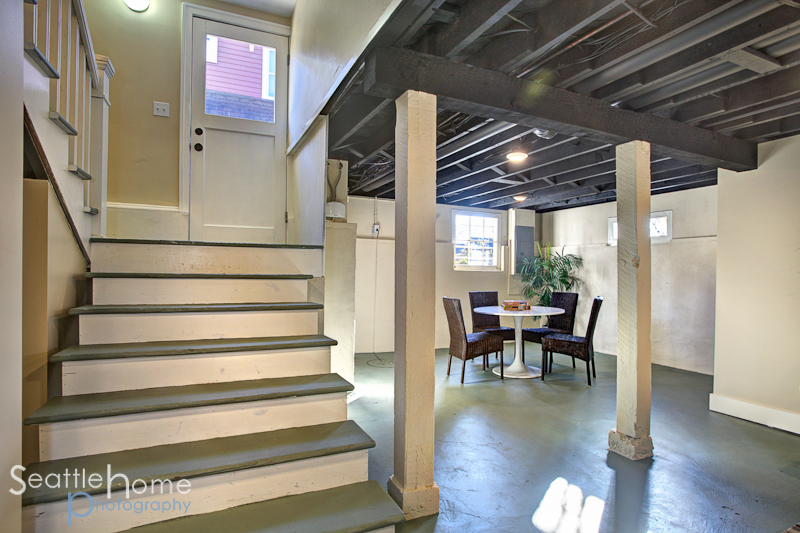
Basement
Good design is making something intelligible and memorable. Great design is making something memorable and meaningful.
